Use APKPure App
Get Airplane origami Tutorials old version APK for Android
For you, this is the latest Airplane origami Tutorials!
Airplane origami Tutorials
For you, this is the latest Airplane origami Tutorials!
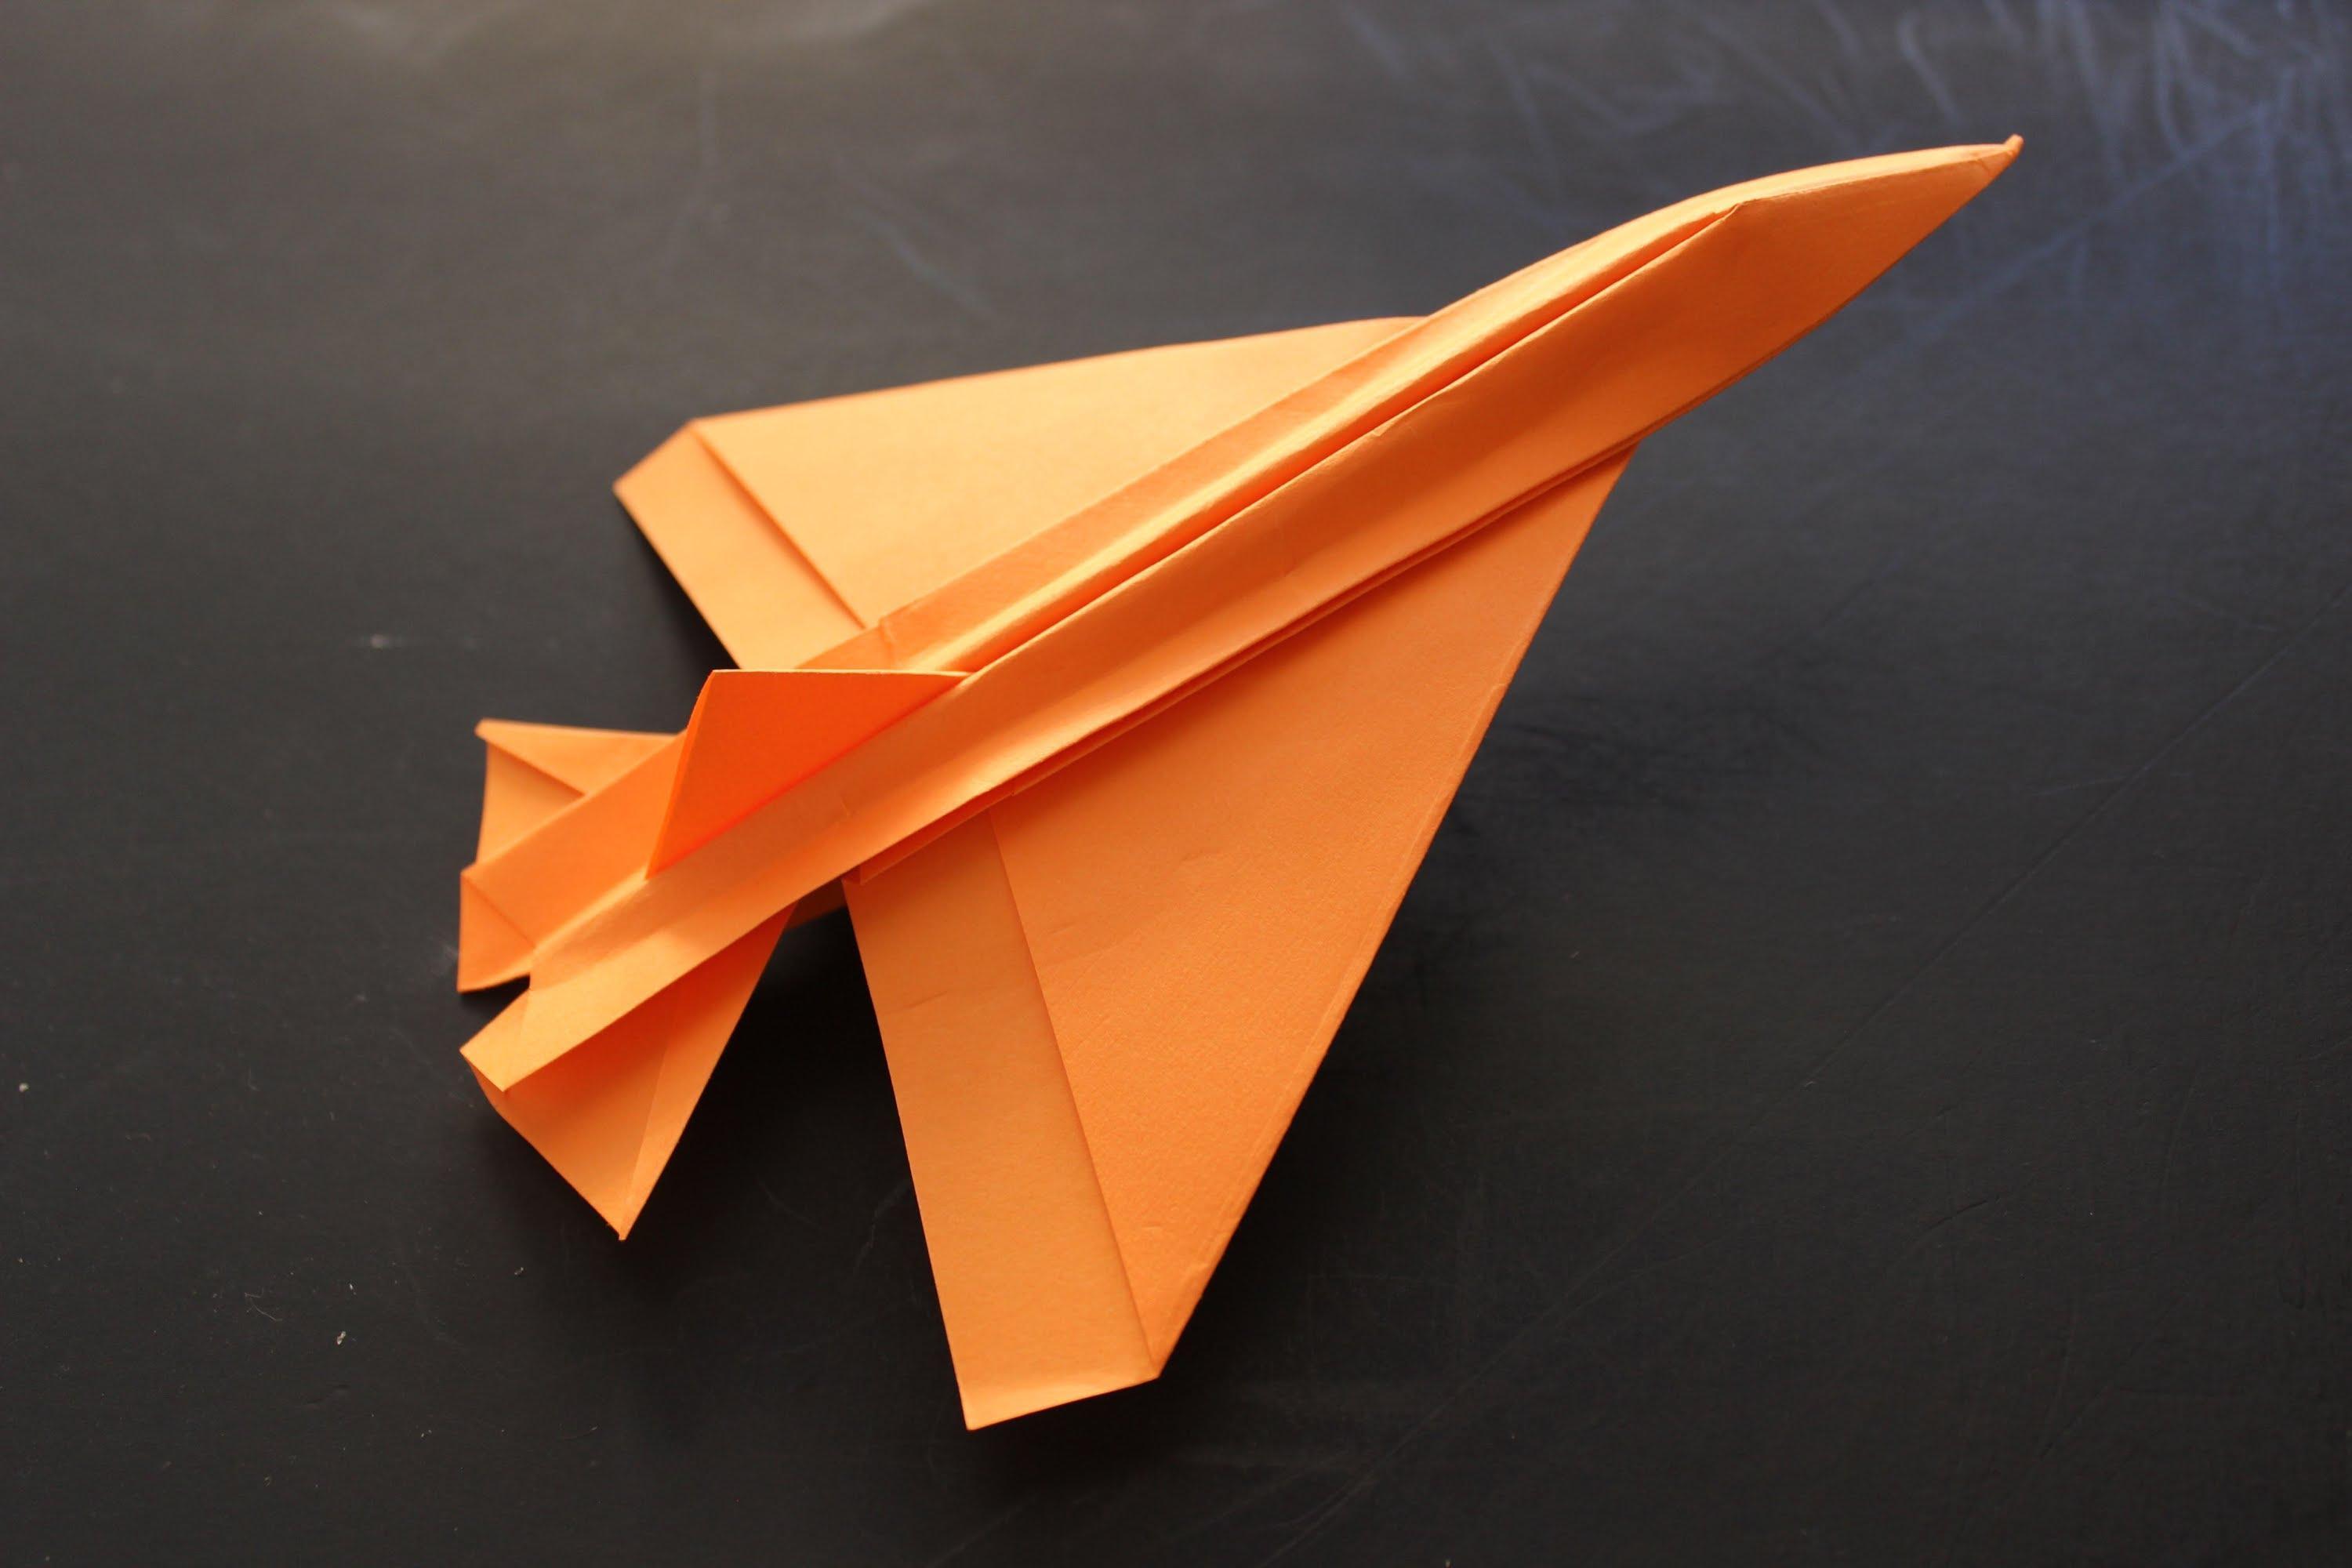
Origami is the art of folding paper into a form derived from the country of Japan. Origami is widely used to form animals, plants or vehicles. Origami or folded paper is usually taught since we were in elementary school. Here I will give tips on how to create Origami Airplane Tutorials.
1. Fold the paper measuring 21.5 cm x 28 cm into two based on its length. Use plain paper, if the paper is too thick the plane will fall easily. But if it is too thin, the plane will not have enough momentum to fly. After folding, tap the edges with your finger to make it strong.
2. Unfold the paper. Open the folds in the same way as when you fold them. Make sure the crease marks are clear and are along the paper.
3. Fold both upper corners to create two triangles that meet in the middle of the crease. You should create two equilateral triangles with the edges that meet at the line of the former fold. The size of these two triangles should be as close as possible.
4. Fold the top corner to the bottom of the folded paper. The upper corner of this corner should touch the bottom of the edge at the point of the second encounter of the triangle.
5. Fold the paper again in half by length. Fold in the same way as the first step. Fold along the same folds. Press the fold back to strengthen the plane when needed.
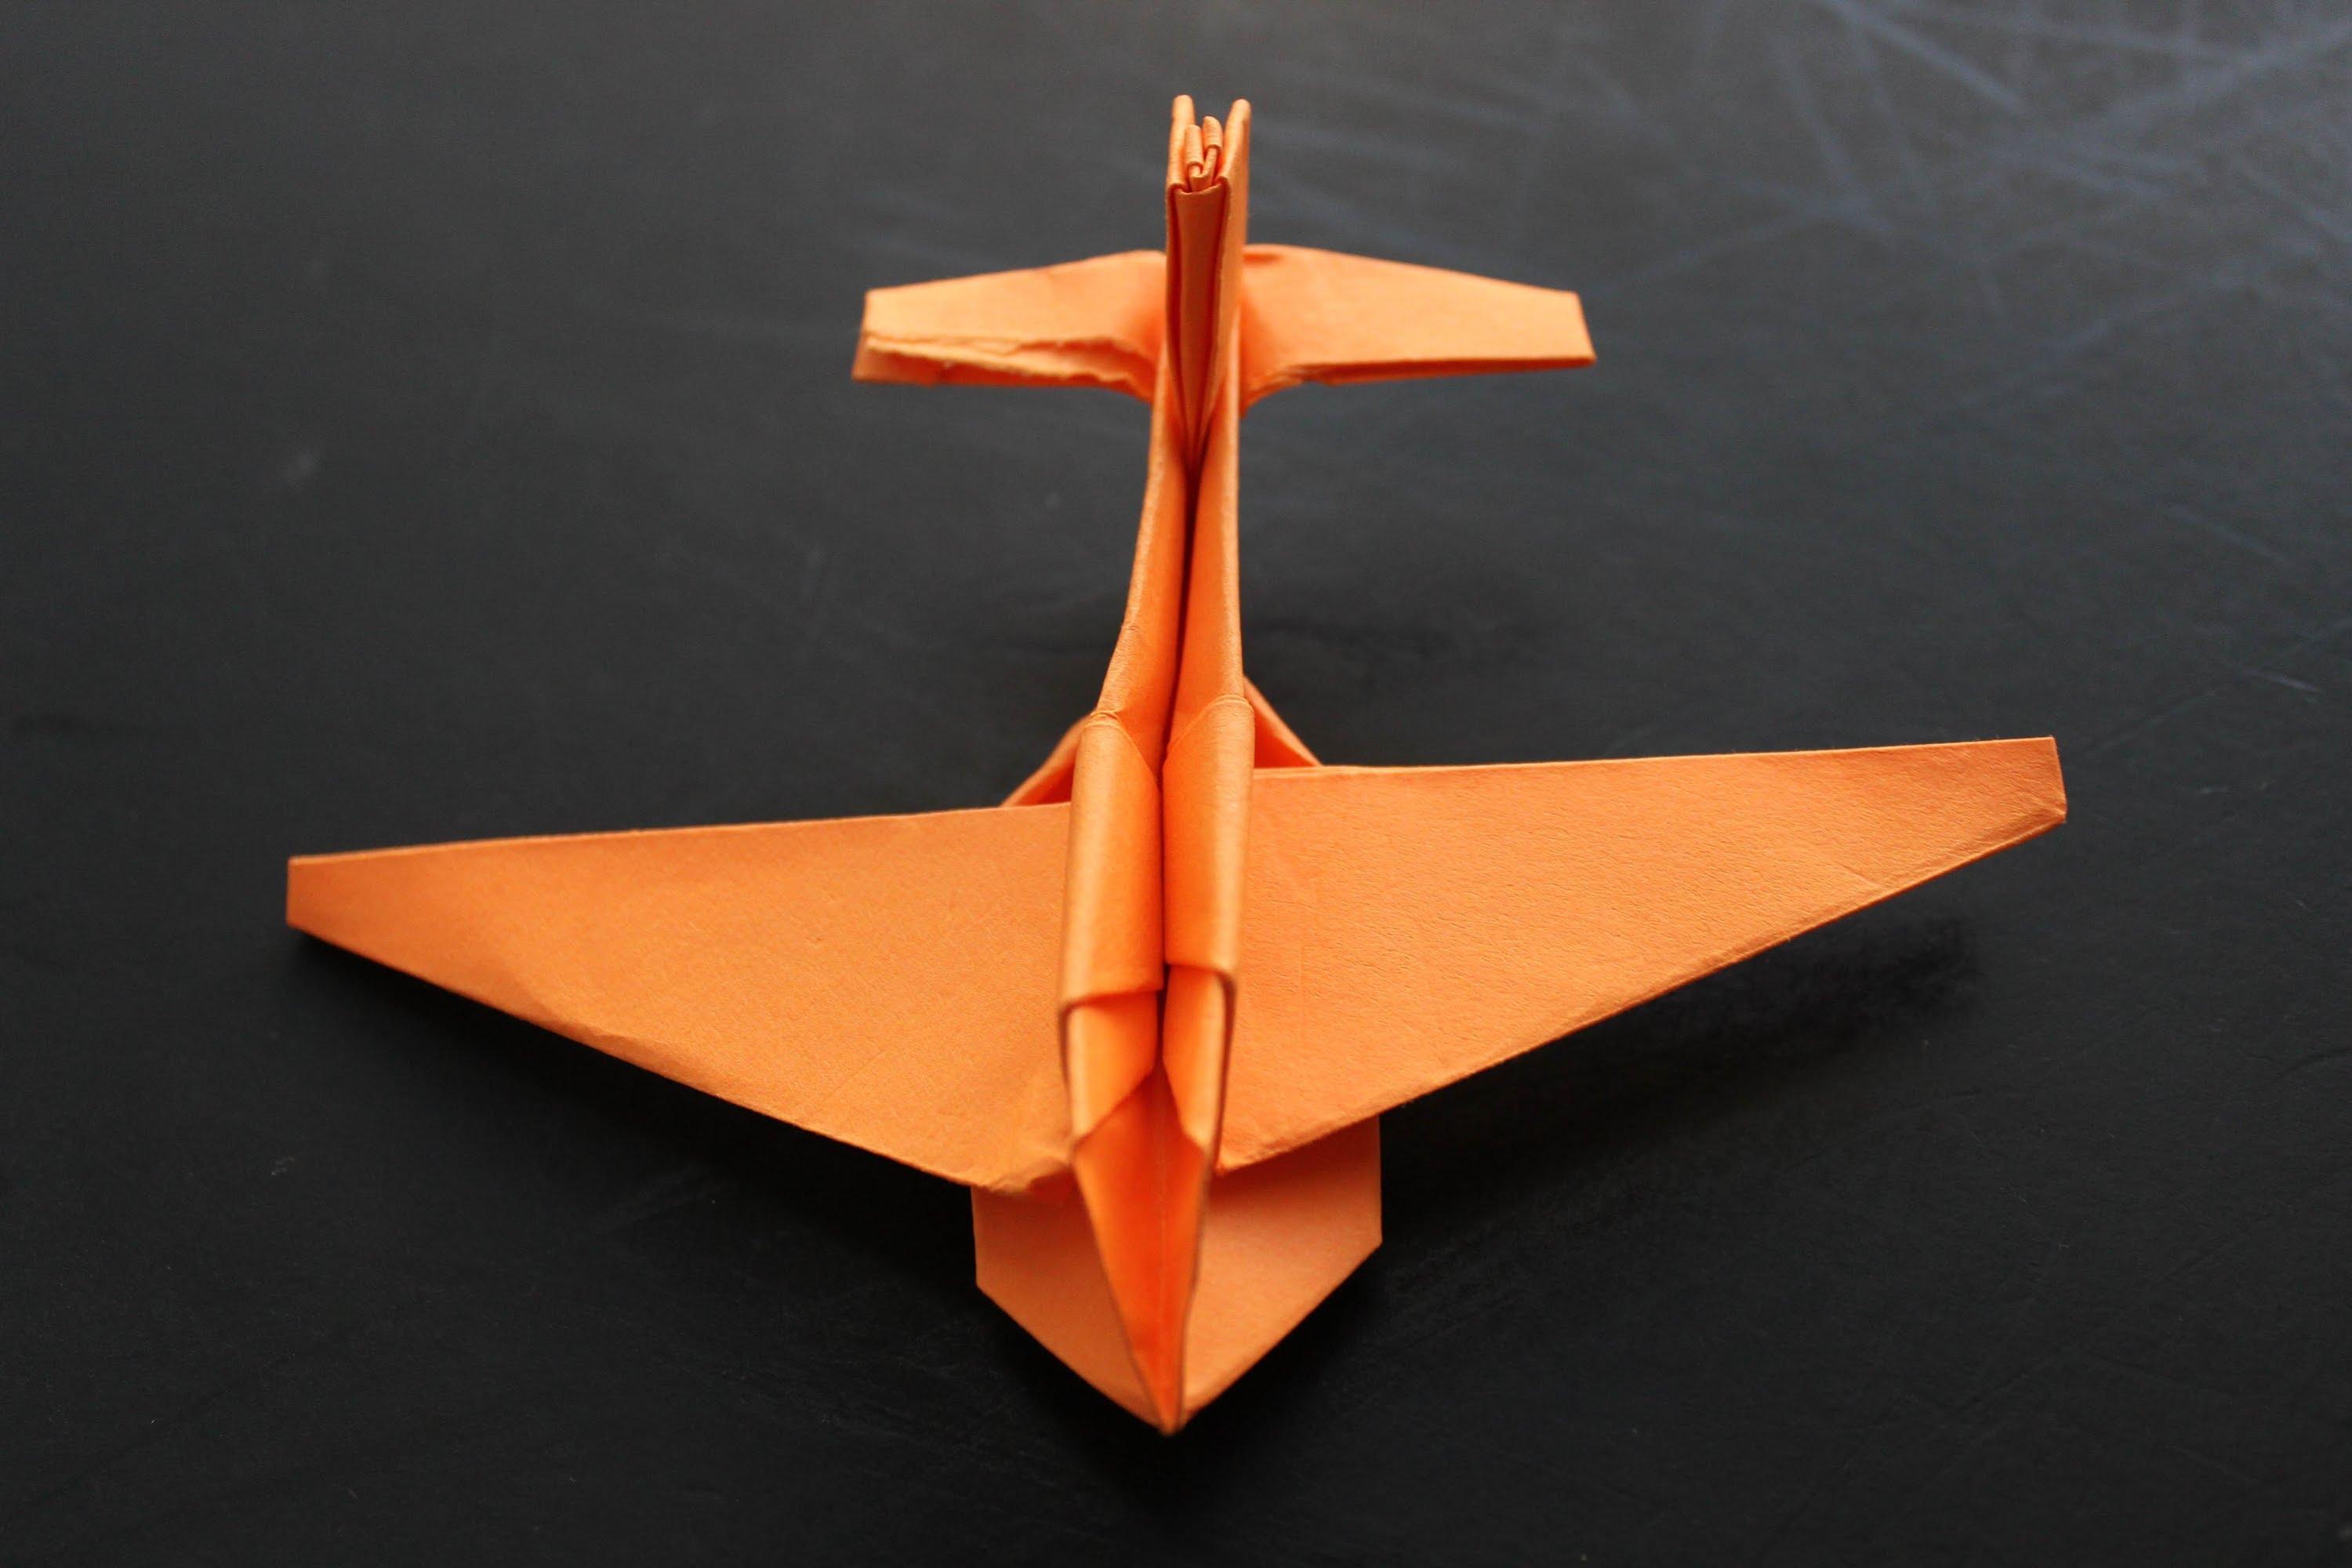
6. Make the wings. After the paper is folded in half, pull one side on the outer periphery of the diagonal and fold through the folds in the middle. So you see a small triangle with a bottom edge that touches the folds. Turn the paper over and do the same on the other side. Create a long box shape with triangles on both sides of the plane. Try to make the fuselage with a maximum length of 1 cm.
7. Hold the plane and fly. Hold it in the middle and throw it slowly upward. The plane will be flipped back and forth straight. Continue to play it, experiment to see if throwing it faster or slow will affect the movement.
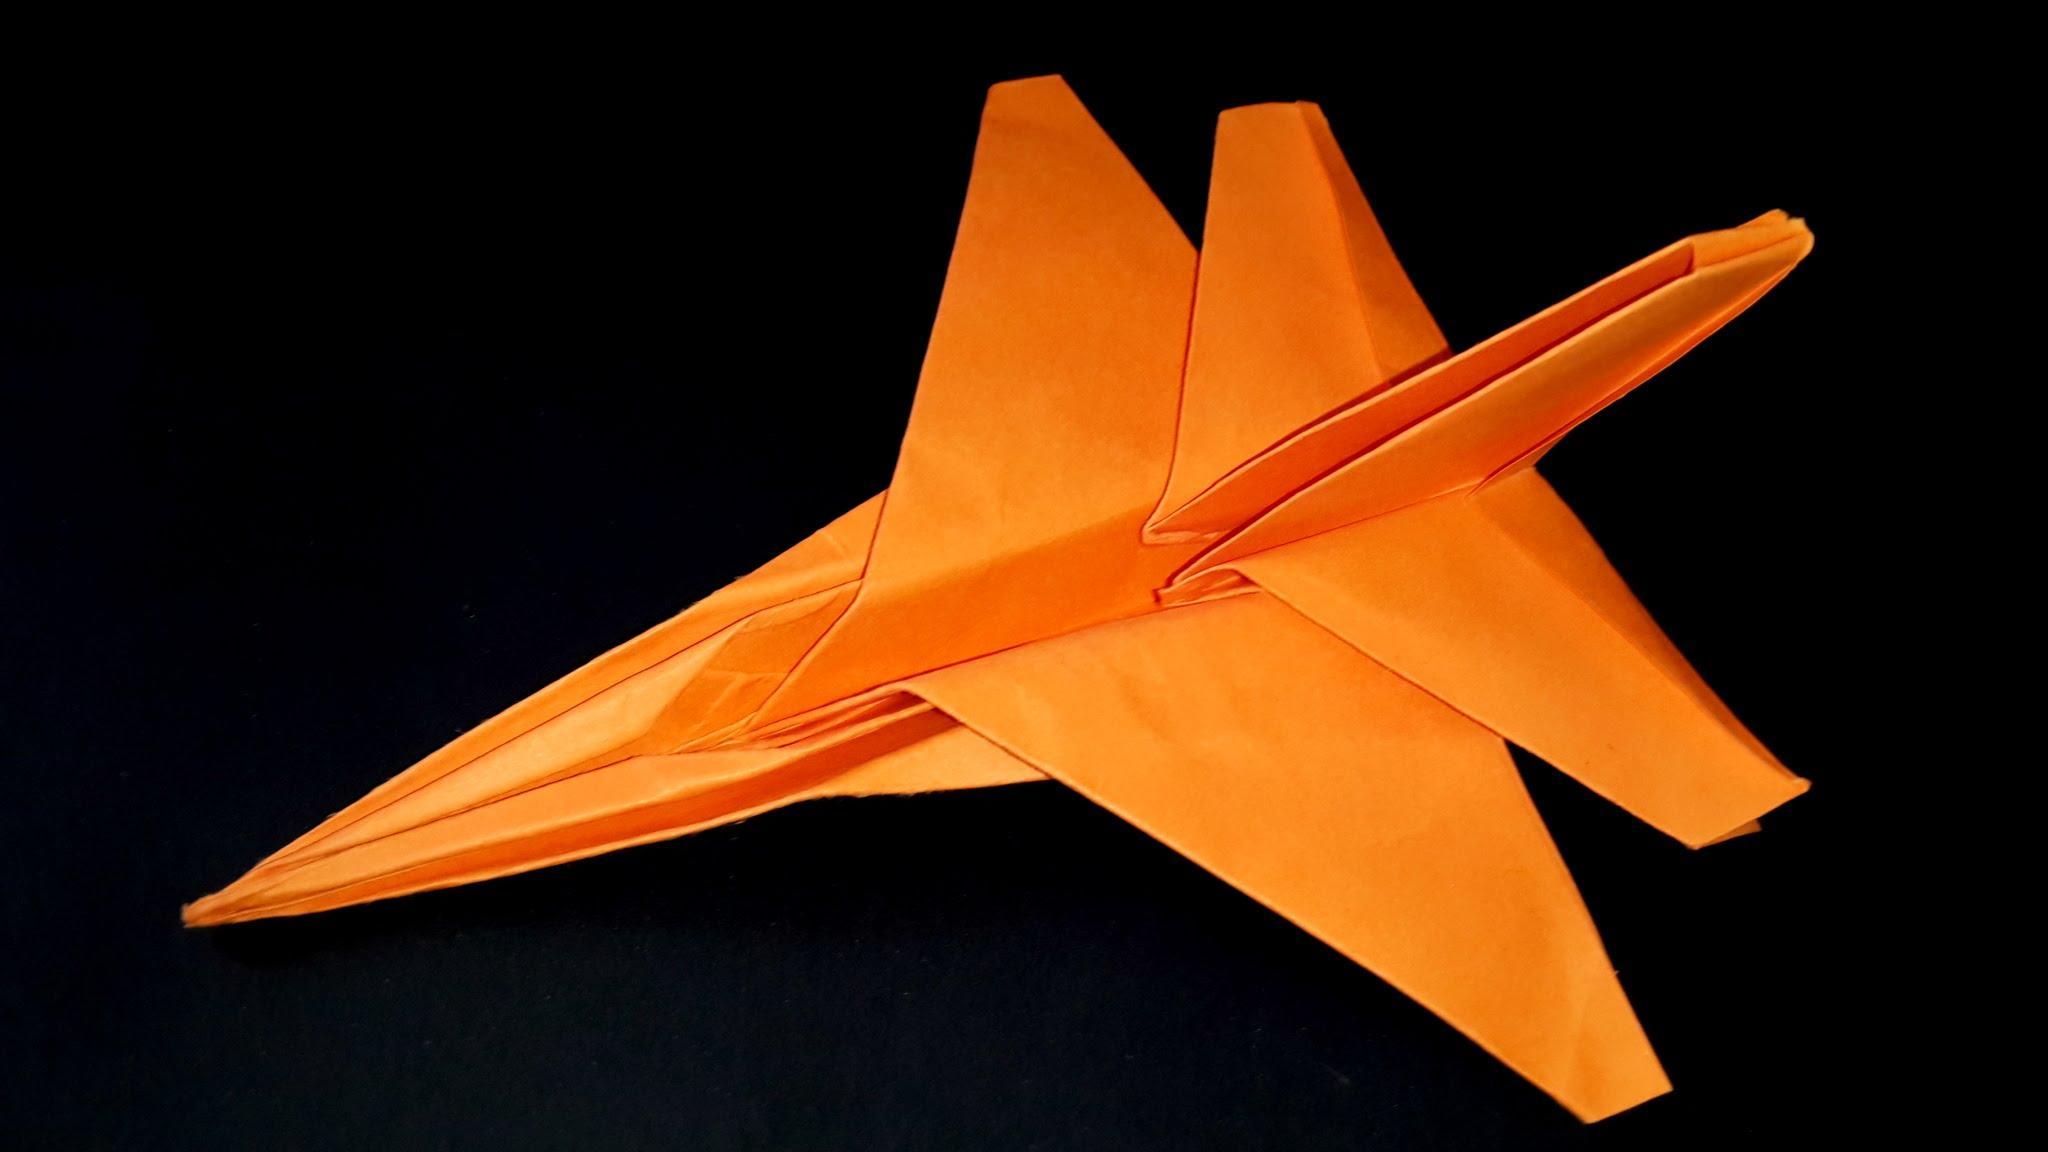
In this application we have many pictures showing Airplane origami Tutorials. Many advantages of the application Airplane origami Tutorials this when you download, including this application for free you can download on google playstore. It has 50 Airplane origami Tutorials images. The application capacity is not too big so you still have plenty of space for your phone memory. And lastly no need to use internet connection.
Come get the Airplane origami Tutorials app on your phone.
Last updated on Dec 27, 2017
Minor bug fixes and improvements. Install or update to the newest version to check it out!
Latest Version
![]() 1.0
1.0
Requires Android
2.3 and up
Category
Report


Discover what you want easier, faster and safer.

Airplane origami Tutorials
1.0 by Gheftord
Dec 27, 2017